Change the look of the bullets in your Word document, create your own custom bullets by following these easy to follow steps.
Microsoft word by default offers some bullet marking which you can use. In fact almost all users use these bullets as a list feature.
If you are bored with these regular bullets and want to use something different bullet styles. Here is a simple guide, with which you can learn to create your custom bullets in Microsoft word.
Launch Microsoft Word application and open a new blank document. On the ribbon menu you can click on the bullet icon or right click on the document scroll down and select “Bullets” than from the context menu select “Define new Bullet” as shown here.
STEP 2:
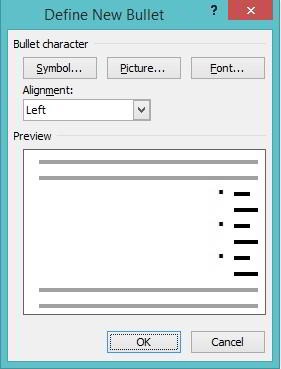
On the Next new window ” Define new bullet” click on the “Picture” tab keep the alignment to default left.
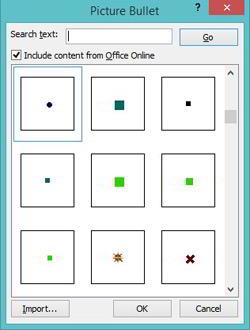
STEP 3: Microsoft word will automatically load the bullets already installed on your computer and populate it. You can also click on the import tab if you have downloaded bullets earlier and saved on your computer.
Alternately if you are connected to internet, check the box that says “Include content from Office online”. Microsoft word will download available bullets and install it.
STEP 4: Once all the bullets are loaded and populated, you can select the one you like and click on OK button and start using your own custom bullets in Microsoft Word.
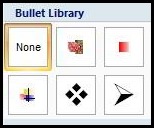
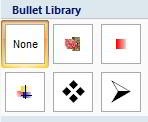
Best thing is Microsoft word stores these in bullet library. Your own custom bullets in Microsoft word for future use. Use different custom bulleted list and present your document with style.
Hello! I am Ben Jamir, Founder, and Author of this blog Tipsnfreeware. I blog about computer tips & tricks, share tested free Software’s, Networking, WordPress tips, SEO tips. If you like my post /Tips then please like and share it with your friends.
We use cookies on our website to give you the most relevant experience by remembering your preferences and repeat visits. By clicking “Accept”, you consent to the use of ALL the cookies.
This website uses cookies to improve your experience while you navigate through the website. Out of these cookies, the cookies that are categorized as necessary are stored on your browser as they are as essential for the working of basic functionalities of the website. We also use third-party cookies that help us analyze and understand how you use this website. These cookies will be stored in your browser only with your consent. You also have the option to opt-out of these cookies. But opting out of some of these cookies may have an effect on your browsing experience.
Necessary cookies are absolutely essential for the website to function properly. This category only includes cookies that ensures basic functionalities and security features of the website. These cookies do not store any personal information.
 STEP 2: